I think bias biding tape is one of the best finishing methods ever. Especially for facing. It's quick and easy if you know how to attach it the right way.

When I've just started sewing I was absolutely sure that bias tapes can only be used in one way. Actually, this way:

I remember the first time I found out that you can use them as a facing as well. It was a BurdaStyle.com pattern, and it was suggested to use bias biding tapes for that task. I gazed at the picture of the finished dress and thought "but you can't see any tapes here!" So obviously, I made a simple facing, with the same fabric I used for my project.
But today I prefer bias tapes for that. I find it much easier to attach a tape than a normal facing to my garment. That way it's much easier to avoid any bulkiness, and you can use pretty much any type or color of a bias tape because it won't be visible. You'll also save your fabric, because you won't need to cut a big facing.
Luckily, now I know how to use bias tape in that easy way! You need to:
Measure your neckline to find out how much bias tape do you need. Add about 5 cm to that measurement.

Now prepare your bias tape. You can make your own one or just buy one. I usually make one myself.
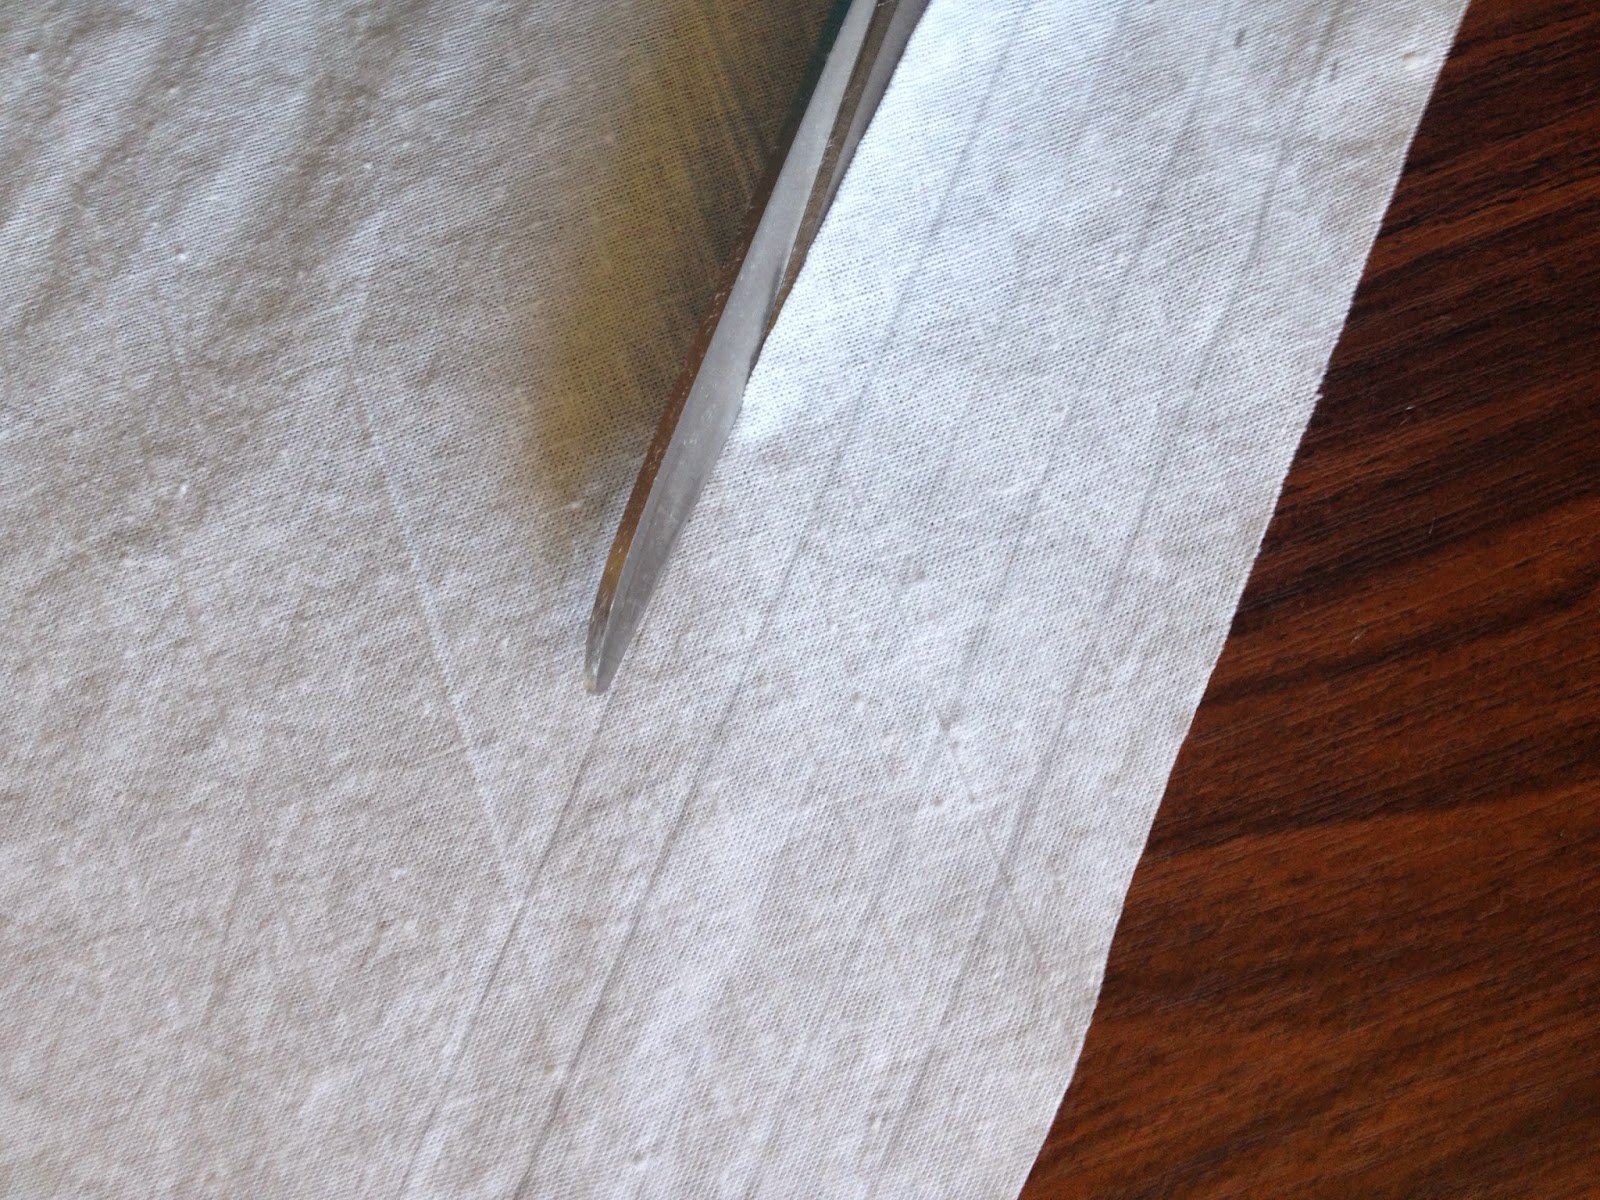

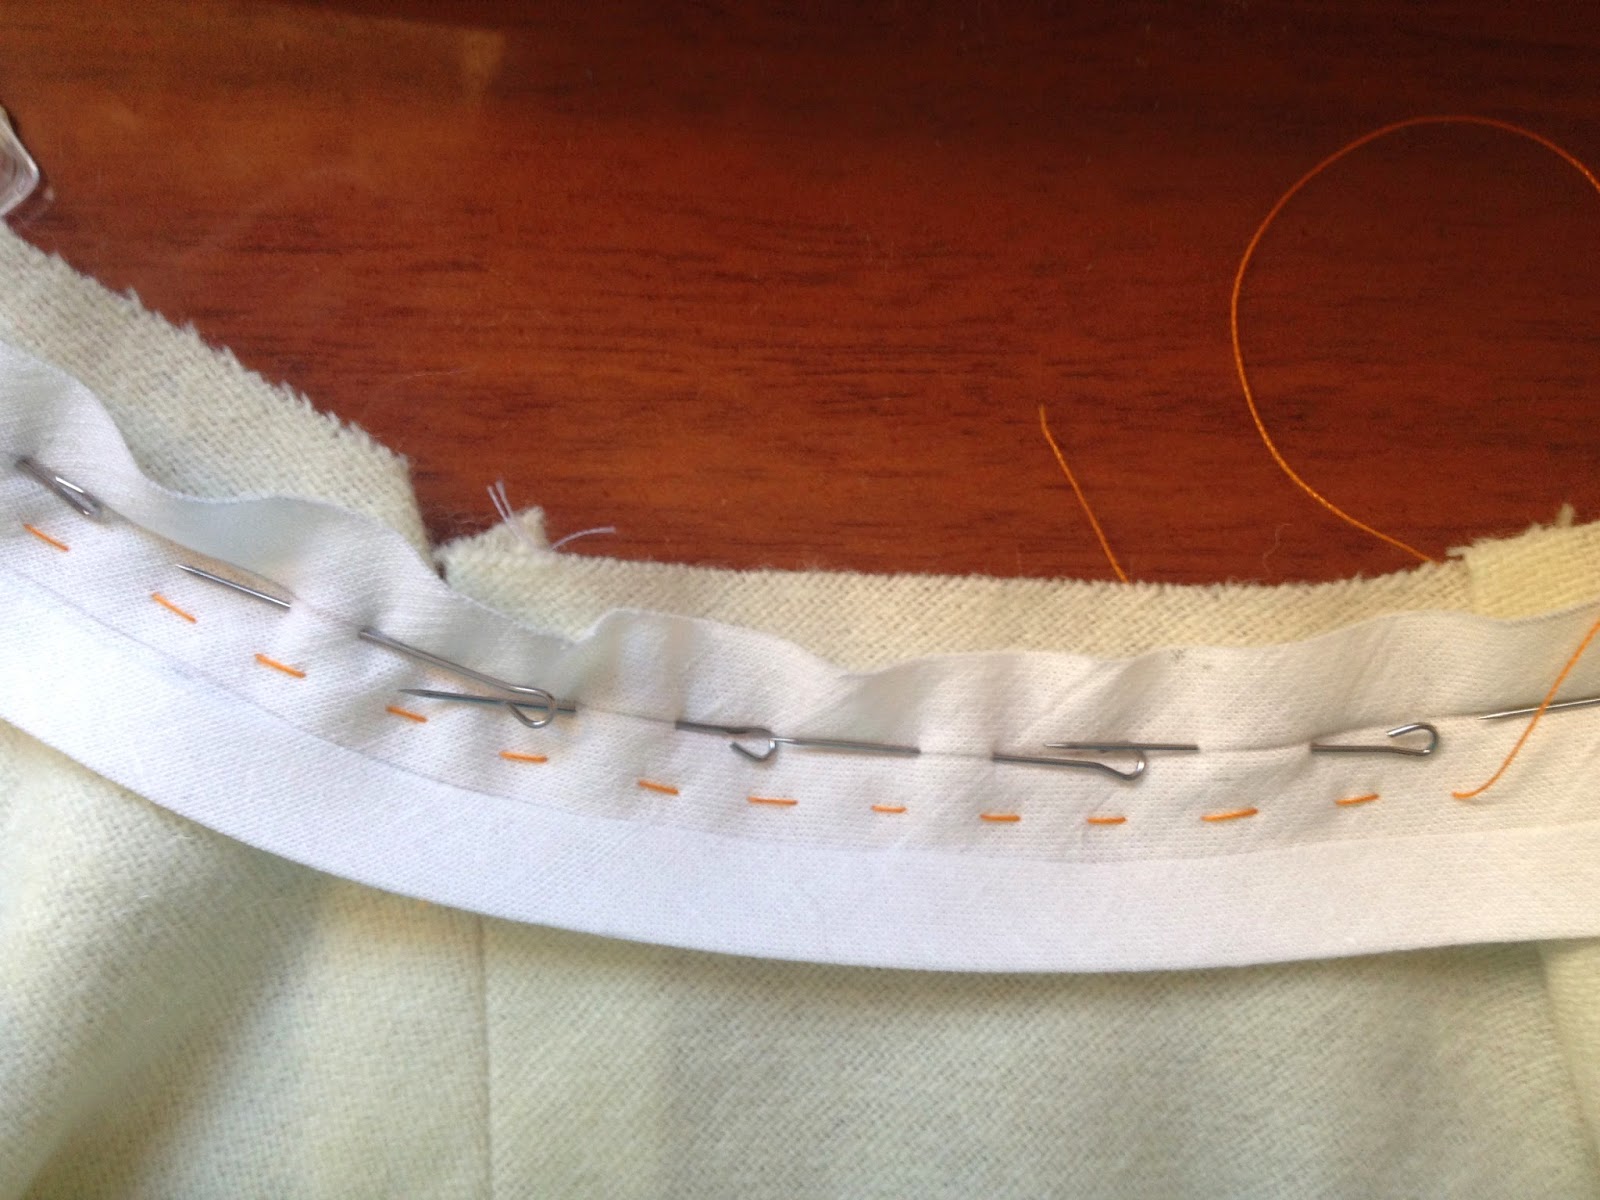
Press one edge of your bias tape and place it on a seam line, right sides together. Pin it along the seam line.


Now hand stitch your bias tape at the centre.
Remove pins and sew along the seam line.


Now press your bias tape into the inside, pull about 1 mm of the fabric out, and start hand stitching it.If you don't mind having a top stitch on your garment, you can use a sewing machine for that step.

That's how it will look inside:

And on the right side:

Do you use bias tape as a facing?


0 comments